
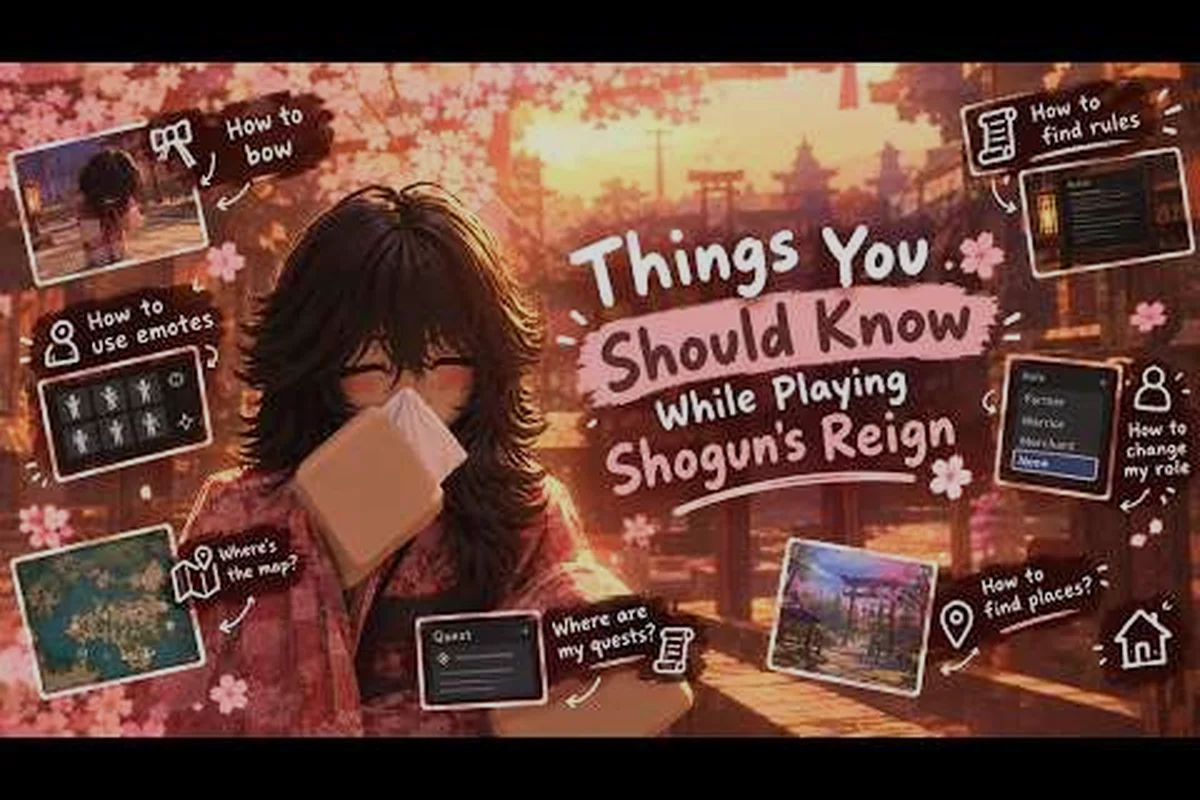
Dropping into feudal Japan for the first time can feel overwhelming when you have no idea where to walk, what to click, or how to make your very first Ryō. This Shogun's Reign beginner guide distills the spawn hub, the core UI, the emote wheel, and the safest labor paths into a single read so you can leave the starter zone with pockets full and a clear next step.
The opening stretch of Shogun's Reign has been quietly tuned for newcomers, and a helpful overview by imbored's Things You NEED to Know in Shogun's Reign video walks through the very same essentials covered below. Use it as a side-by-side reference while you click around the village square.
Understanding the Spawn Hub and Your First 60 Seconds
The first thing every new player sees is the spawn hub, a wooden courtyard ringed by lantern-light, vendor stalls, and a small shrine that doubles as the respawn anchor. You begin with no weapon, no money, and no rank above the default villager tier, so every minute before your first job shapes how fast your income curve climbs.
Spawn Hub Layout at a Glance
| Zone | Where to Find It | Why It Matters Early |
|---|---|---|
| Lantern Plaza | Center of the hub, beneath the torii | Fast travel point and meeting spot for new players |
| Vendor Stalls | Western edge, near the well | Sells basic tools, food, and starter clothing |
| Labor Hall | Northern gate, two-story building | Quest board for your first moneymaking contracts |
| Shrine Anchor | Eastern edge, behind the cherry tree | Respawn point and location to change stance |
| Training Dummy | South side, near the archery range | Free target to test melee swings and ranged throws |
Spend the first 30 to 60 seconds clicking the shrine to set your respawn, opening the map, and walking to each marker in the table above. The map's icon style takes a minute to learn, and a quick loop prevents wasted travel later when you accept a quest that points somewhere you have never visited.
Default Controls and UI Panels
The default UI feels dense because the developers chose to surface a lot of context from the start, but most of it can be ignored until you need it. The four panels that matter for a brand-new player are inventory, quests, settings, and the social/emote wheel.
-
Inventory: opened with
Ion PC or the bag icon on mobile. Always visible on the left. -
Quests: opened with
Jon PC or the scroll icon. Tracks active contracts and story beats. -
Settings: the gear icon in the top-right. Lets you rebind keys and adjust the camera.
-
Emote Wheel: the smiley face icon, bound to
Bon PC by default. Used for both emotes and quick chat.
Community testing suggests the default bindings are chosen for controllers first, which is why so many PC players rebind the emotes wheel to a mouse side-button. A small setting change here saves real time during group hunts where you cannot afford to fumble with the keyboard.
The Emote Wheel, Stances, and Social Cues
The emote wheel is more than a social toy in Shogun's Reign, because every emote doubles as a server-wide signal. Bowing shows respect to higher-ranked players, which can soften aggressive encounters, and pointing directs nearby allies to a quest marker without you needing to type.
Core Emotes You Should Bind First
| Emote | Default Slot | Practical Use |
|---|---|---|
| Bow | Top | Reduces aggression from hostile NPCs and senior players |
| Point | Right | Marks a quest objective for nearby teammates |
| Cheer | Bottom | Used to confirm a labor contract is complete |
| Sit | Left | Idle animation; useful for AFK in safe zones |
| Trade | Top-right | Initiates a player-to-player item swap |
You only get a few hot slots by default, so the community-recommended bindings are bow, point, cheer, and trade. Sit can be rebound later once you understand which emotes trigger server-side dialogue changes, because some senior players report a small reputation bonus when they see a newcomer bow before approaching.
How Stance Affects Your Spawn Walk
Stance toggles between passive, neutral, and ready states, and the shrine lets you change it for free during your first hour. Passive mode is the right default for exploring the hub because it lowers the chance that an aggressive NPC will pick a fight, while ready mode is the state you want for your first labor run.
Making Your First Ryō: Labor, Foraging, and Safe Quests
The fastest safe money for a new player is labor, which is shorthand for the timed contracts posted on the quest board inside the Labor Hall. The board refreshes every few minutes, and the low-difficulty contracts always involve carrying, sweeping, or delivering something to a nearby stall.
Best Starter Labor Contracts
| Contract Type | Average Payout | Risk | Recommended? |
|---|---|---|---|
| Sweep the Courtyard | 35 Ryō | None | Yes, perfect first job |
| Deliver Tea to the Shrine | 50 Ryō | Low | Yes, teaches basic navigation |
| Carry Sacks to the Mill | 75 Ryō | Medium | Yes, after you know the route |
| Escort a Merchant | 120 Ryō | Medium-high | Only after you own a basic weapon |
| Hunt Boar Near the Gate | 200 Ryō | High | Skip until you have gear |
Start with sweep and deliver contracts because they pay small but require zero combat, which means you can stack two or three in a row without returning to the board. The community consensus, based on early Shogun's Reign walkthrough videos, is that the first 500 Ryō should be earned through pure labor rather than combat, so you can afford a basic tool kit and a starter meal buff before you risk a hunt.
Foraging Hotspots Within Two Minutes of Spawn
Foraging is the second money stream and it works alongside labor. The map around the hub has three reliable spawn points for Bamboo Shoots, Wild Mushrooms, and River Kelp, each respawning every couple of minutes. The vendor in the western stalls buys a stack of bamboo shoots for around 20 Ryō, which means a calm three-minute loop can net you 60 Ryō plus whatever you keep for crafting later.
The wiki-style overview at the Shogun's Reign wiki hub catalogs the same foraging patterns and adds a few mid-game hotspots that become useful after the first hour. Bookmark it once you start branching out of the starter area, because the wiki is updated by players who track respawn timers closely.
First Real Progression: Rank, Gear, and Where to Spend Money
The early game is really about three buckets: rank progress, gear, and consumables. Rank decides which vendors will trade with you and which zones will let you in, while gear decides whether you can survive a single boar without dying, and consumables decide whether you can stay out farming for a full hour without running back to refill stamina.
Early Spend Priority (First 1000 Ryō)
| Priority | Item | Approx. Cost | Reason |
|---|---|---|---|
| 1 | Worn Sandals | 80 Ryō | Unlocks the Mountain trail, which has better foraging |
| 2 | Wooden Bokken | 150 Ryō | Lets you accept low-tier combat labor |
| 3 | Rice Ball x5 | 50 Ryō | Stamina refill for long foraging loops |
| 4 | Cloth Sash | 120 Ryō | Required for a couple of social rank quests |
| 5 | Lantern | 200 Ryō | Lets you work night contracts for double pay |
Players who follow this order tend to leave the spawn hub in roughly 45 minutes with a working kit. The lantern looks expensive for a new player, but night contracts pay 2x and they are the cleanest way to bank 1000+ Ryō before you ever need to think about PvP or boss content. If you are not sure whether your account can host its own session, the private server walkthrough explains the conditions and whether you need Robux to unlock a quiet farming instance.
Social Rank Versus Combat Rank
Shogun's Reign tracks two parallel ladders: a social rank that rises when you complete cultural quests like tea ceremonies and poetry readings, and a combat rank that rises when you defeat mobs, duel other players, or clear a boss. The two ranks feed into the same Shogun ladder eventually, but for the first few hours, social rank is the safer path because most cultural quests are non-combat and let you bank rank while still earning labor money. The rank requirements overview breaks down the exact thresholds so you can plan whether to lean cultural, combat, or split your time roughly evenly.
Surviving Your First Trip Beyond the Hub
The map opens up dramatically once you cross the gate, and the smartest thing a new player can do is pick one direction per session rather than try to see everything. The three directions that matter for the first day are the forest, the mountain trail, and the river district, and each one teaches a different skill.
Direction-by-Direction First Trip Plan
| Direction | Distance From Hub | Teaches You | Watch Out For |
|---|---|---|---|
| Forest (West Gate) | 1 minute run | Basic combat and wood gathering | Boar patrols at dusk |
| Mountain Trail (North Gate) | 3 minute climb | Vertical navigation and stamina management | Loose rocks cause knockback |
| River District (East Gate) | 2 minute walk | Swimming, fishing, and boat vendors | Strong current past the second bridge |
A single clean run to each direction in one play session is a realistic goal, and most players report that the mountain trail is the most punishing for newcomers because the stamina drain is steeper than the forest. The fast travel mechanics that unlock later, which the mountains travel guide describes in detail, do not exist in the first hour, so plan your route on foot and bring at least one rice ball for the climb.
Common First-Trip Mistakes and Quick Fixes
-
Selling all your foraged goods immediately: keep at least 10 bamboo shoots for the first crafting quest, because the vendor will not restock them until you hit a higher social rank.
-
Accepting a hunt contract without a weapon: the quest board does not check your gear, only your rank, so always read the contract's recommended level.
-
Forgetting to refill the lantern oil before a night run: the lantern is a great buy but its oil depletes in roughly 20 minutes.
-
Wandering past the second river bridge at night: the current pulls harder after dark and the recovery shrine is back at the hub.
Frequently Asked Questions
How long does the first session of Shogun's Reign usually take before you can leave the starter zone?
Most new players spend 40 to 60 minutes in the spawn hub before they feel ready to venture past the gate. The time goes into completing two or three labor contracts, buying a basic tool kit from the priority table above, and finishing at least one cultural quest to bump the social rank by one tier. Once the social rank moves up, the next vendor unlocks better starter gear and the area beyond the gate becomes noticeably easier.
Is there a way to play Shogun's Reign without spending Robux?
Yes. Every core mechanic, including labor contracts, foraging, social rank progression, and the first combat rank, is fully available without spending Robux. Premium currency only unlocks cosmetic shortcuts, faster respawn timers in private servers, and a couple of decorative housing items. A new player can reach mid-game entirely on earned Ryō if they follow the early spend priority list and avoid risky hunt contracts until they own a proper weapon.
What is the safest first combat encounter I should attempt?
The single safest combat encounter is the practice duel against the training dummy behind the Labor Hall, because the dummy cannot kill you and it lets you learn attack timing and stamina cost without risk. After that, the lowest-risk live target is the lone boar that patrols the western forest edge during the day, which has predictable attack telegraphs and drops a useful crafting material. Avoid the wolf packs near the mountain trail until you have at least a wooden bokken equipped and a rice ball in your inventory for stamina recovery.
Where should I go first if I want to focus on earning money fast?
Stick to the Labor Hall contracts and the bamboo shoot loop for the first hour, then buy a lantern as soon as you can afford it. Night contracts pay double and they are far less crowded, which means less competition for the highest-paying jobs on the board. The combination of daytime labor plus a single night run is the most reliable way to cross 1500 Ryō within your first two hours in Shogun's Reign.