
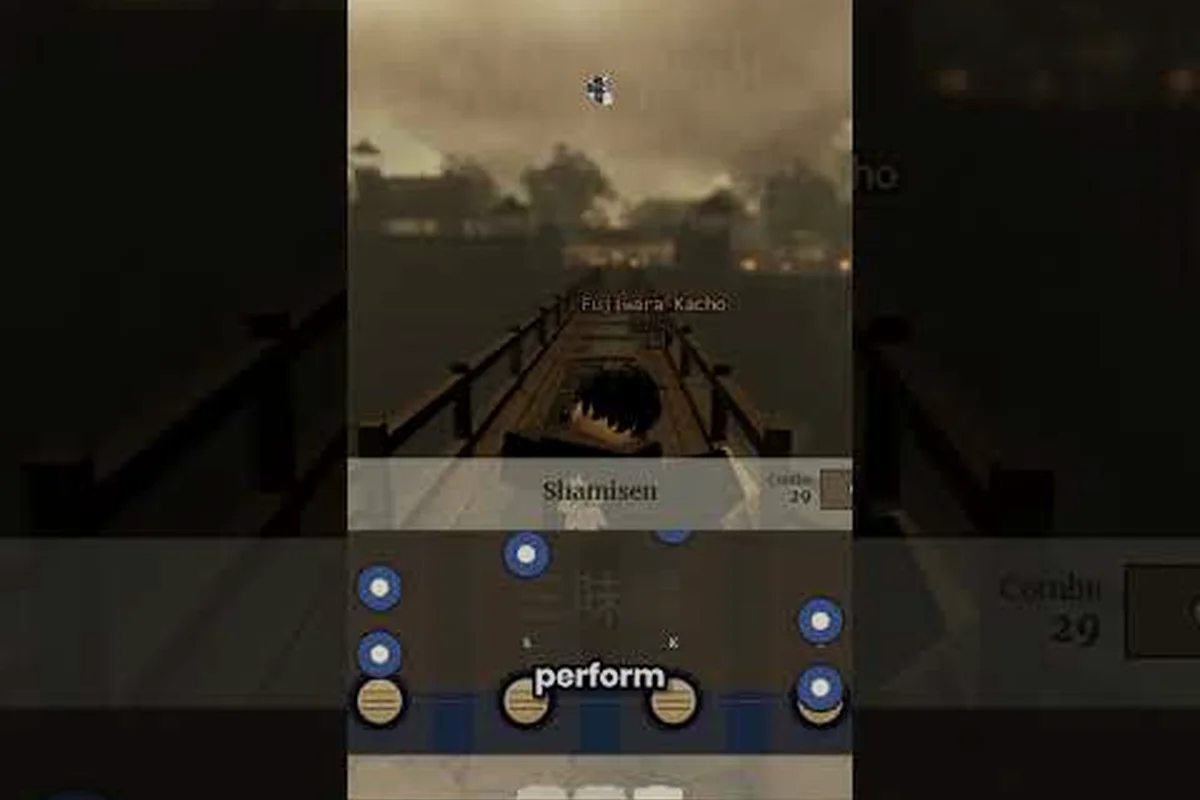
The Shogun's Reign warrior rank is the first real combat milestone most players chase, and it sits on top of a quietly brutal social ladder that begins at the peasant tier. Getting there is not just about swinging a katana — it is about stacking influence, winning duels, and earning the recognition of nearby lords. This guide breaks down the rank progression from the very bottom of society, the actual contribution of each influence source, and the combat feats that move your avatar from villager to warrior status. By the end, you will know exactly which actions to prioritize so that your next promotion does not stall at 60% of the threshold.
The Six-Tier Social Ladder at a Glance
Shogun's Reign stacks its social system into six visible tiers: Peasant, Villager, Warrior, Samurai, Noble, and Shogun. The first three are accessible during the early game because they only require a combination of combat deeds and a soft influence score. Higher tiers add wealth, vassal relationships, and territory control on top of that base, which is why the jump from warrior to samurai feels much heavier than the climb from peasant to villager.
The progress bar for each rank fills with two currencies. The first is a numeric influence value that increases when you complete tasks recognized by the local daimyo. The second is a hidden deeds counter that ticks up whenever you win a duel, survive an ambush, or complete a bounty contract. Both have to cross their individual thresholds before the rank-up cutscene triggers, so players who max only one of the two often wonder why their promotion seems frozen.
Peasant Rank: Where Every Avatar Starts
Every new avatar in Shogun's Reign drops into the Shogun's Reign peasant rank automatically. There is no quest, no dialogue, and no required item — the spawn cutscene simply labels you as a peasant and gives you a starter set of clothes plus a wooden training sword. According to community testing, the peasant rank caps your equipment at tier 1, blocks you from entering castle districts, and forces dialogue options to remain on the lower third of every conversation tree.
The peasant tier is the shortest of the six, which is good news. Most players report crossing into villager status inside the first 30 to 45 minutes of play, simply by completing the tutorial hamlet's three intro missions. Those missions are designed to seed your deeds counter, your influence score, and your first contact with the regional daimyo. Skipping them is technically possible, but it leaves both progress bars near zero and forces a much slower grind later.
Villager Rank: The First Social Promotion
The Shogun's Reign villager rank is the first promotion the game grants. It lifts several restrictions: you can now enter market districts, equip tier 2 gear, and take side jobs from the notice board. The threshold is intentionally low so that new players experience a small reward early, which in turn trains them to chase the next rank with confidence.
You will see the villager rank notification appear once you finish the hamlet tutorial and report back to the elder. At that point, your deeds counter is usually sitting around 30 to 50, and your influence value has climbed to roughly 150 to 200. The exact numbers depend on whether you finished the optional bandit ambush during the tutorial — players who skipped it sit closer to the bottom of the band and have to grind a few side jobs before the bar fully fills.
Warrior Rank: The First Combat-Focused Promotion
The Shogun's Reign warrior rank is where the game's combat identity starts to matter. Until now, your deeds came mostly from scripted tutorial moments. At warrior, every duel you win contributes meaningful progress, and the rank's rewards reflect that focus: tier 3 weapon access, a unique training dojo, and the right to join a regional war campaign as a named soldier instead of a nameless conscript.
The promotion cutscene is the first one with a real cinematic — the daimyo's lieutenant offers you a stamped banner, and you appear on the regional map as a recognized combatant. This is the moment the social ladder stops feeling cosmetic and starts opening real gameplay paths, because most higher-tier quests check for warrior rank as a hard prerequisite.
Influence Sources and How to Gain Influence
The most common bottleneck in Shogun's Reign rank progression is influence, not deeds. Influence is a soft currency that the regional daimyo tracks through a hidden ledger, and the fastest way to raise it is a mix of bounties, faction donations, and public duels. Players who ignore influence and only grind duels often find their deeds bar overflowing while the influence bar barely moves, which is why the rank-up cutscene never fires.
The table below synthesizes influence data reported by players testing on the current beta branch, and the numbers are pulled from community spreadsheets that track runs across multiple warrior rank resets. Values are not final and can drift after each balance patch, especially for tournament rewards and public duel payouts, which the developers have flagged as the two most likely tuning targets during the early-game phase.
| Source | Influence Gained | Time Cost | Repeatable? |
|---|---|---|---|
| Notice board bounty (low) | 25–40 | ~10 min | Yes, daily reset |
| Notice board bounty (mid) | 60–90 | ~25 min | Yes, daily reset |
| Public duel victory | 35–50 | ~5 min | Yes, every 30 min |
| Faction donation (100 gold) | 15 influence | Instant | Yes, capped at 3/day |
| Rescue villager event | 40–60 | ~8 min | Yes, random spawn |
| Castle gift delivery | 20–30 | ~12 min | Yes, every 2 hours |
| Tournament win | 120–180 | ~45 min | Weekly |
The fastest influence per minute ratio in the early game comes from public duels. A skilled player can chain three duels in fifteen minutes and walk away with over a hundred influence, which is enough to almost fully fill a single rank's influence bar. Bounties and rescue events are slower per action but more reliable for newer players who cannot yet win duels consistently.
The Daily Influence Loop
The most efficient early-game pattern reported by veteran players is what the community calls the daily influence loop. You start by clearing two low bounties from the notice board, then chain a public duel at the arena, and finish with a castle gift delivery. That sequence, repeated every in-game day, yields roughly 220 to 280 influence plus several deed ticks from the bounty targets. Players who can sustain this loop for two real-time days report crossing the warrior threshold without ever touching the donation system.
A common mistake is to spend influence on cosmetic upgrades before the rank-up. Influence and gold are not the same currency — donations are a way to convert gold into influence, which means spending gold on gear before hitting warrior rank actually slows you down. The smarter move is to hoard gold, donate the daily cap, and let the influence bar do the work.
Influence Caps and Rank Gates
Each rank imposes a soft cap on how much influence you can stockpile. At peasant, the cap is low enough that extra influence is simply absorbed. At villager, the cap rises, but any overflow is rolled into a small permanent bonus. At warrior, the cap becomes a hard wall — once you cross the threshold, excess influence converts into reputation with the regional daimyo, which is the next currency the samurai rank consumes.
This is the reason a slow-and-steady influence build is stronger than a sprint: players who hit the cap early and then idle for a day lose the overflow bonus, while players who spread their donations and duels across multiple in-game days maximize the conversion rate. The rank requirements overview tracks these caps and the conversion ratios in detail, which is worth bookmarking once you start planning your samurai push.
Combat Feeds and the Deeds Counter
While influence is the soft currency, the deeds counter is the hard gate. Every combat-related achievement feeds it: duel victories, ambush survivals, bounty target defeats, and a small handful of scripted events. The deeds counter does not respect influence — a player with 1000 influence but 10 deeds cannot promote, because the deeds bar remains below threshold. The reverse is also true, which is why a balanced approach is essential.
Deeds by Activity
| Activity | Deed Points | Notes |
|---|---|---|
| Duel victory (equal rank) | 8 | Most common deed source |
| Duel victory (higher rank) | 18 | Risk of death, high reward |
| Bounty target defeated | 12 | Counts even if a guard lands the kill |
| Ambush survival (no KO) | 6 | Triggered by random events |
| Tournament round win | 15 | Weekly cadence |
| Castle defense event | 20 | Limited window, server-wide |
| Dojo training completion | 4 | Cheap deed source, low influence |
Dojo training is the most underused deeds source because it does not move the influence bar at all. A new player who trains at the dojo every in-game morning for ten minutes will see their deeds bar fill at a steady pace, even on days when they cannot find a duel partner or bounty target. Combine that with two duels per day and one bounty, and the deeds bar usually reaches the warrior threshold in two to three real-time days.
Risk vs. Reward in Duels
Dueling higher-ranked opponents is the single most deeds-efficient action in the game, but it carries real risk. A loss against a higher rank not only gives zero deeds, it can also drop your influence by a small amount because the crowd disapproves. The safe path is to duel equal ranks for steady deeds and only attempt the higher-rank duels once your weapon skill is comfortably above the opponent's tier.
Players who want a deeper breakdown of how deeds convert into the samurai promotion can cross-check their numbers against the deeds to reputation guide, which covers the deeds-to-reputation conversion that kicks in after warrior rank. The two systems share mechanics, so understanding deeds now will save you relearning the math later.
Warrior Rank Requirements and Promotion Checklist
The warrior rank has three explicit gates: an influence threshold, a deeds threshold, and a regional reputation minimum that is only revealed once the first two are met. Most players hit the influence and deeds gates on roughly the same in-game day, but the reputation minimum is what actually triggers the cutscene.
| Gate | Approximate Value | How to Verify |
|---|---|---|
| Influence | 1,200–1,400 | Visible on the character sheet |
| Deeds | 90–110 | Hidden, but inferred from activity log |
| Regional reputation | 250+ | Unlocks after first two gates are met |
The reputation gate is the one that confuses new players, because it is invisible until the other two bars are full. Once you cross the deeds and influence thresholds, the daimyo's lieutenant will approach you with a small reputation check. If you have at least 250 reputation, the cutscene plays and you receive the warrior banner. If you are short, the lieutenant simply walks away and you have to earn more reputation through quests, donations, and castle gift deliveries.
Fastest Promotion Path
For players who want the shortest path to warrior rank, the most efficient real-time route is a daily loop that stacks influence income and reputation gains from the same in-game day, front-loading bounty clears and duels before donating the 300-gold cap to avoid wasted downtime between actions.
-
Complete the hamlet tutorial and reach villager rank
-
Clear two low bounties per in-game day
-
Win one duel per in-game day
-
Donate the daily gold-to-influence cap (300 gold across three donations)
-
Deliver one castle gift per in-game day
This routine, sustained for two to three real-time days, fills both bars and pushes reputation above the gate. The first-time Shogun's Reign player typically needs closer to four days because of the learning curve on duels, but a returning player with a saved loadout can compress the same routine into two.
Common Stalls and Fixes
The two most frequent stalls at the warrior rank are the influence cap and the deeds cap, and they have different fixes. An influence stall is fixed by donating gold or completing a high-tier bounty, while a deeds stall is fixed by either dueling more often or visiting the dojo. A reputation stall is fixed by completing the regional daimyo's quest line, which becomes available once you hit villager rank.
Players who have just started their playthrough should pair this guide with the first hour progression guide, which lays out the early quests in the order that maximizes deeds and influence together. Following that order from minute one usually means the warrior rank arrives on day three instead of day five.
Warrior Rank Rewards and What Unlocks Next
The warrior rank is the inflection point where the game's economy opens up. Until warrior, you are mostly restricted to tier 1 and tier 2 gear, you cannot enter castle districts, and most quest givers will only offer you the lower-paying jobs. At warrior, those restrictions lift in one cutscene, and the regional map starts offering tier 3 contracts, named weapons, and the first vassal relationship dialogue trees.
These six rewards act as your gateway into the mid-game economy loop, since each one is gated behind the warrior rank cutscene and cannot be previewed or stockpiled at villager rank beforehand. Comparing them against the previous tier unlocks makes the jump obvious: at peasant and villager you only saw basic +1 to +3 stat gear and local side jobs paying under 50 mon, whereas the warrior unlocks introduce tier 3 smithing trees, a wearable influence multiplier, and your first multi-stage war campaign — effectively a three-axis upgrade to combat, economy, and progression simultaneously. Veterans generally treat this list as the checklist that signals the real Shogun's Reign has begun.
-
Stamped warrior banner — wearable item that grants +5% influence gain for the next rank
-
Tier 3 weapon access — opens the katana and yari trees at the smith
-
Castle district access — unlocks the daimyo's court as a quest hub
-
Regional war campaign invite — multi-stage event that feeds deeds toward samurai rank
-
Dojo promotion — daily training now grants deed bonuses instead of base deeds only
The banner is the most underrated reward. Its influence boost carries over into the samurai grind, so equipping it before starting the samurai push effectively gives you a head start on the next bar. Players who stash it in their inventory until after the samurai promotion are leaving a free 5% multiplier on the table.
Setting Up the Samurai Push
Warrior rank is also when the social ladder starts branching. Some players pivot toward the noble track by stacking wealth and vassal relationships, while others push straight into the samurai track by stacking deeds and reputation. The samurai track is the more combat-focused path, and the warrior rank banner is what makes it efficient. If you intend to chase the samurai promotion path, equip the banner immediately, then start the regional war campaign as soon as the castle district unlocks.
A final piece of housekeeping: the warrior rank is also the first tier where your avatar can be challenged by other players in the regional arena. The duels you win here feed both deeds and reputation at the same time, so the arena becomes a one-stop shop for both bars once you reach warrior. It is worth spending at least one in-game afternoon per day inside the arena to keep both meters moving in parallel.
Frequently Asked Questions
How long does it take to reach the Shogun's Reign warrior rank from a fresh save?
Most first-time players reach the warrior rank in three to five real-time days, assuming they clear the tutorial and run the daily influence loop described above. Returning players with optimized routes can hit it in two days, but the deeds counter is harder to compress because it requires actual combat wins.
Do donations count toward the deeds counter or only influence?
Donations only raise the influence bar and a small reputation tick; they do not add deed points. To raise the deeds counter, you need combat deeds such as duels, bounty target defeats, ambush survivals, or dojo training completions. Players who only donate often stall at the deeds gate even with full influence.
Can you lose the warrior rank if your deeds drop later?
No, the warrior rank is permanent once unlocked. Deeds and influence only matter for the next promotion; they cannot demote you. The only way to lose rank is to voluntarily use a specific rare item, which is almost never worth doing because the benefits of demotion are negligible.
What is the best weapon to chase immediately after reaching warrior rank?
Community testing points to the Named Yari as the strongest early-warrior weapon because it has a long reach and a stamina-efficient combo chain that makes dueling higher-ranked opponents safer. The Iron Katana is a close second, with higher single-hit damage but a shorter reach that punishes positioning mistakes. Pick the yari if you intend to duel often, and the katana if you prefer bounty hunting.
Does the Shogun's Reign peasant rank matter after you have already promoted?
The peasant rank itself does not return any benefit once you have promoted, but the skills and equipment you unlock at villager and warrior rank do not roll back either. Practically, that means you can ignore the peasant tier entirely after your first promotion and focus on building the samurai track. New players who find themselves back at peasant on a second avatar can use the early hamlet tutorial to seed both bars before leaving the starter area.